For sealant applicators
Portfolio Photos That Win Sealant Work
Customers look at your profile before they pick you. Here is how to photograph your sealant work so the eight portfolio slots on your profile do the selling for you.
· 5 min read · General information, not professional advice.
When you claim a job, the customer reads your message and guide price, then usually clicks through to your profile. That is where your portfolio photos sit, and you get up to eight of them. A customer comparing three applicators has no other way to see your work before deciding, so those eight pictures matter more than most applicators think.
Good portfolio photos need no new phone or editing skill, just a clean joint, decent light and some thought about what the customer is judging.
Show the joint, not the room
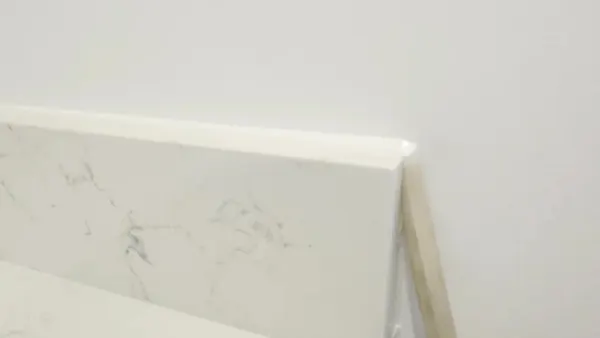
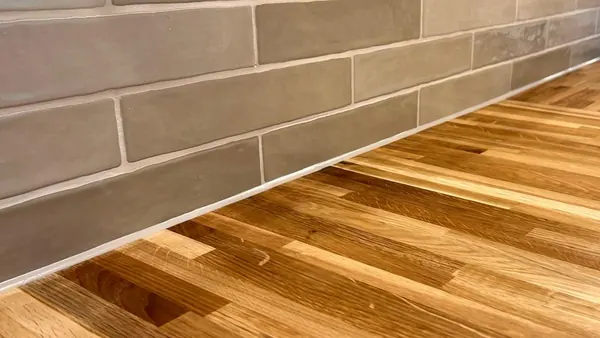
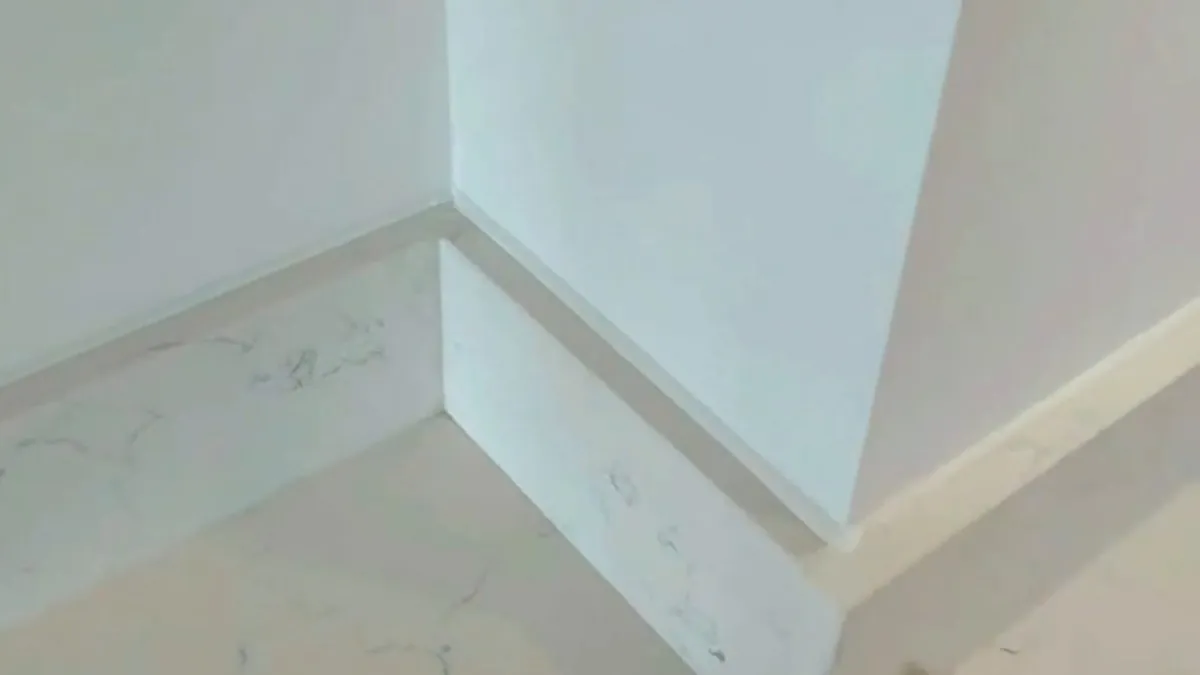
A wide shot of a finished bathroom looks nice, but the customer cannot see the sealant in it. What they want to know is whether your beads are straight, even and neatly finished at the ends. Get close enough that the joint fills a good part of the frame, then step back just far enough that someone can tell what they are looking at: a bath edge, a worktop upstand, a window reveal or a skirting board.
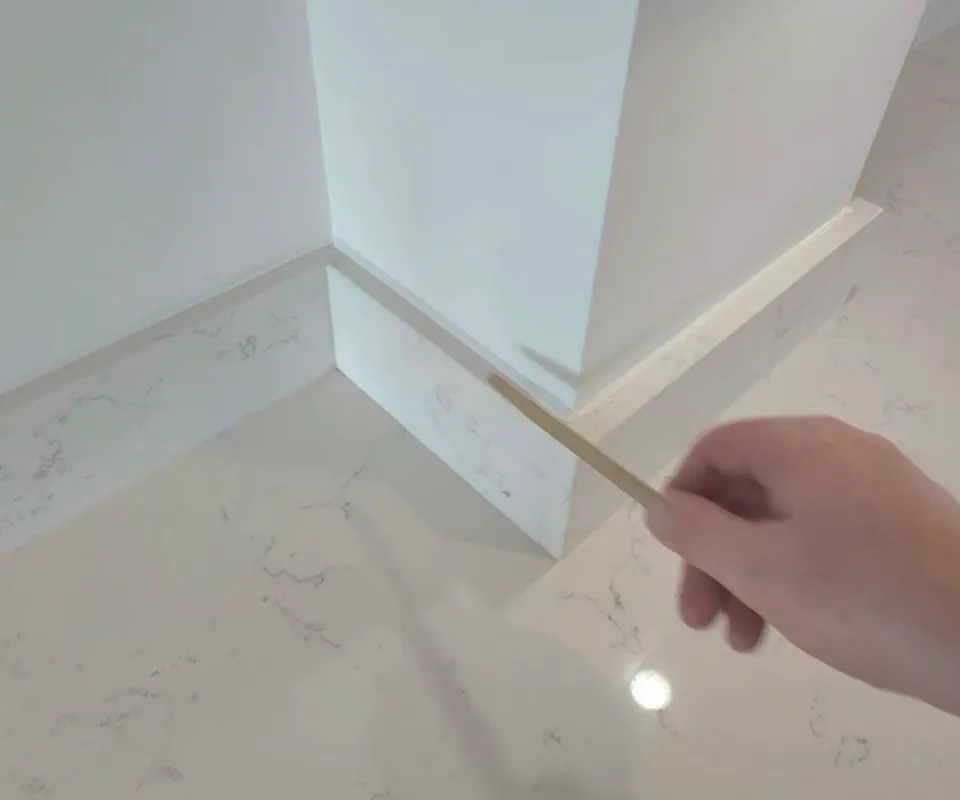
Corners are worth photographing on purpose. Anyone can run a reasonable bead along a straight edge. A clean internal corner, or a joint that turns round an external corner without a blob or a gap, shows control, and other applicators would spot it straight away.
Light and angle
Most sealant is white, grey or clear on a pale background, so flat light makes it disappear. A few habits help:
- Shoot with the light coming from the side, so the bead throws a small shadow and its shape shows.
- Turn off the flash. It flattens the bead and makes gloss surfaces glare.
- Wipe the surface first. Dust, smears and fingerprints look worse in a photo than in real life.
- Hold the phone level with the joint, or slightly above it, rather than looking straight down.
- Take three or four shots of each joint and keep the sharpest one.
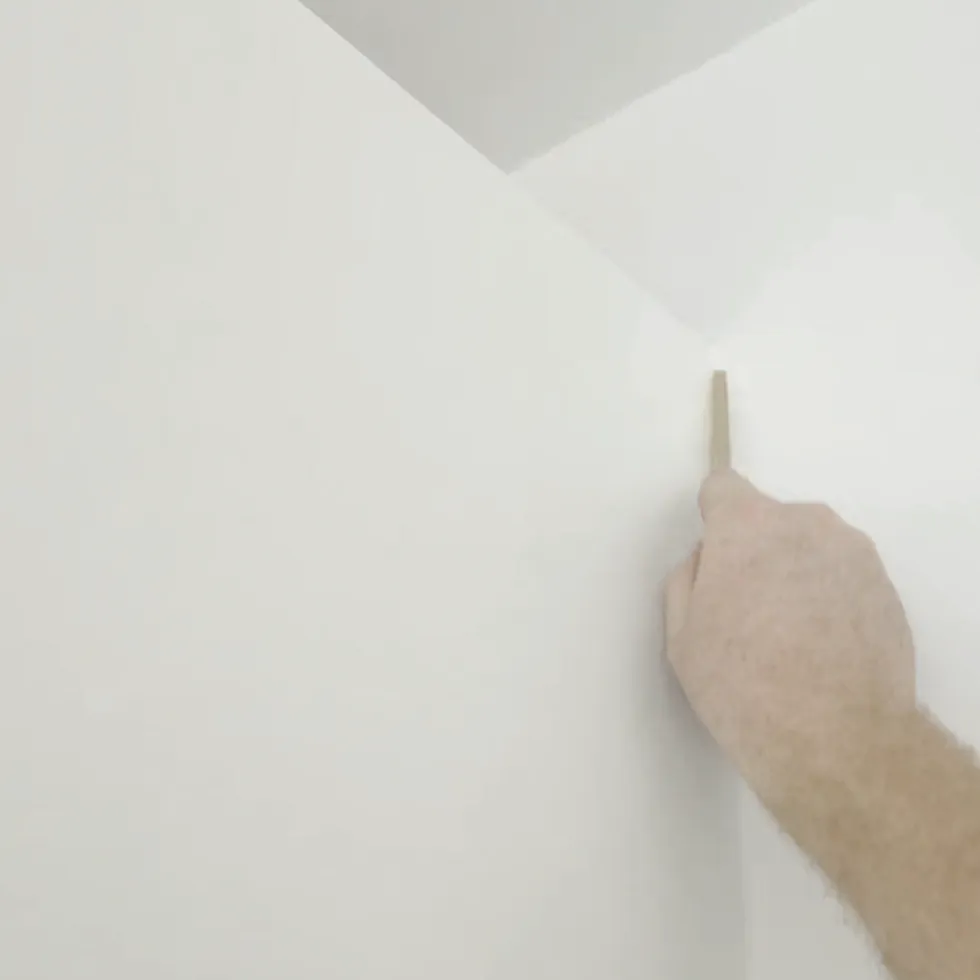
If you film your work for social media, a still from a video can work, but pick a frame where nothing is moving. A blurred hand next to a crisp joint is fine, a blurred joint is not.
Before and after, taken from the same spot
A before and after pair is the most persuasive thing you can put on a profile, as long as both photos are taken from the same position. Before you cut out the old sealant, take one shot of the mouldy, cracked or lifting joint. When you have finished, stand in the same place and take the same shot again.
Upload them one after the other so a customer scrolling your profile sees the change. If the old joint was particularly bad, such as sealant smeared over tiles or gaps where water had got behind it, that is worth showing, because it is exactly what many customers are living with when they post.
Cover the work you want more of
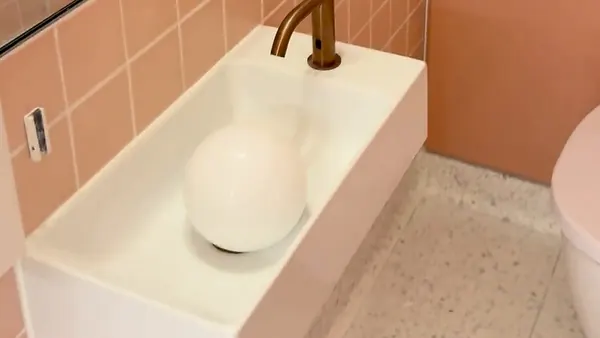
Eight slots fill up fast. Think about which jobs you actually want and make sure each type has at least one photo. If you want commercial washroom work, show a run of basins or a shower block. If you do a lot of kitchen fit-out sealing, show worktop upstands and panel joints. If you want window work, show a reveal from outside.
Change the photos as your work changes. If your profile is full of bath reseals from two years ago but you now mostly do new-build plot mastic, swap a few out. Your newest work is usually your best.
What to keep out of the frame
Your portfolio photos can be seen by customers, and if you opt into the public applicator directory they appear there too. The profile page asks you to stick to your own work and to avoid photos showing people, house numbers or customers' belongings. In practice that means checking the edges of each photo for:
- faces, including reflections in mirrors, glass shower screens and glossy tiles
- house numbers, street signs, number plates and post on a doormat
- family photos, children's things, medicines or anything personal on a shelf
- product labels and cartridge branding, if you would rather the photo is about your work than the product
- another firm's work you happened to be standing next to
Location data is removed from every photo you upload to the site, but it is still worth cropping out anything that would tell a stranger where the house is. If a customer has asked you not to photograph their home, respect that and leave it out.
A short caption helps
Your profile bio has room for 600 characters. Use a line or two of it to say what your photos show and what sort of jobs you take on, for example kitchen and bathroom resealing, window mastic and small commercial jobs. Keep it plain and accurate. Customers want someone whose work looks tidy, not big claims.
Keep it up to date
Set yourself a reminder to look at your profile once a month. Add one or two new photos, delete anything blurred or dated, and read your bio back as if you were a homeowner seeing it for the first time. Small improvements add up, because every claim you make sends a customer to that page.
Got a sealant job?
Post it once, compare up to 3 applicators
Describe the job, add photos and your postcode district. It is free, and your contact details stay hidden until you choose.
Mastic or sealant applicator?
Find sealant work near you
Browse jobs free, then subscribe to respond: 30 days free, then £29.99/month, cancel anytime.