For sealant applicators
Floor Perimeter Sealant Joints for Applicators
The joint where a tiled floor meets the wall gets mopped, kicked and wheeled over every day. Here is how to price it, prepare it and hand it over.
· 4 min read · General information, not professional advice.
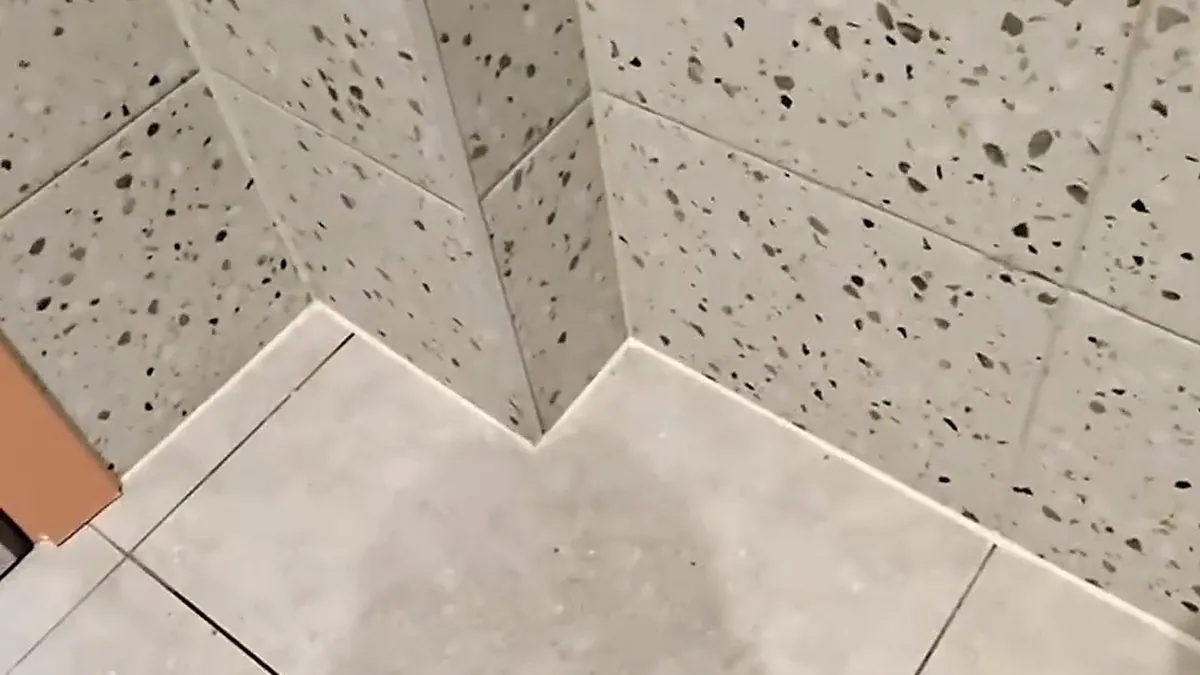
The joint where a tiled floor meets the wall looks like the easiest line on a job. Then the cleaners start. Perimeter joints in washrooms, kitchens, corridors and changing rooms take more daily punishment than almost any bead you will run: mop water, cleaning chemicals, boots, trolleys and a floor that moves slightly every time the heating cycles.
Customers searching for a mastic man near me rarely mention the floor line. It often turns up as a second item on a bathroom or kitchen resealing post, or as a whole job when a contractor needs a commercial washroom or kitchen finished before handover. This guide covers how to price it, prepare it and finish it so it does not come back as a callback.
Why perimeter joints fail
The floor and the wall are separate structures. A screed or timber floor deflects under load and moves with temperature, especially over underfloor heating, while the wall stays put. Grout in that corner cracks within months, which is why tilers leave a gap for a flexible sealant.
The sealant then fails in a few predictable ways:
- Adhesion loss where the bead was laid over cleaning residue, tile sealer or old silicone film.
- Splitting when a deep joint is filled solid and the sealant is bonded on three sides, so it cannot stretch.
- Wear and staining where harsh cleaners, standing water or a scrubber dryer attack the surface.
- Mould in wet areas where water sits on a flat or concave bead that never fully dries.
Spot which one it is in the job photos, as it changes the prep and time on site.
What to find out before you claim
Perimeter jobs are easy to underprice because the length adds up quickly. Before you claim, check:
- Metres of joint. Count walls, door openings and every step round a boxing or pipe. Stepped corners add time out of proportion to their length.
- Floor and wall finish. Porcelain, natural stone, terrazzo, vinyl upstand or painted plaster each need a different approach to cleaning and product choice.
- Old sealant. Full removal of an old bead is often the longest part of the job.
- Underfloor heating and movement. Ask whether the floor is heated or timber. Both point to a wider, softer joint.
- Access and closure. For commercial floors, ask when the area can be closed and how long it can stay dry after you finish.
Our guide to measuring sealant joints before you quote goes through the metres and cartridge count in more detail.
Preparation at floor level
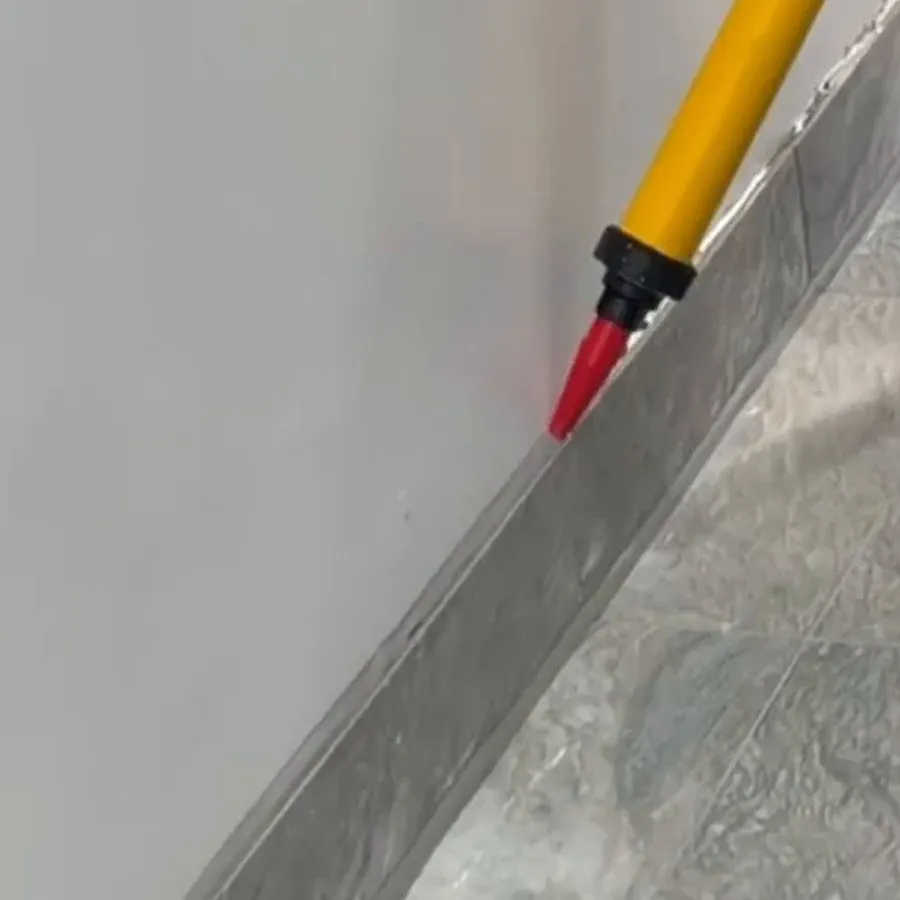
Most perimeter failures start with the prep, not the bead. Cut out the old sealant completely, including the film left on the tile edge. Then clean. Floors are mopped with all sorts of products, and many leave a residue that silicone will not stick to. Clean with a solvent or cleaner that suits the surface and the sealant's data sheet, and let the joint dry fully.
If the gap is deep, fit a backer rod or bond-breaker tape so the sealant only bonds to the two faces. On textured or speckled tiles such as terrazzo, masking tape on both faces gives a straight edge that the pattern would otherwise exaggerate. Our joint preparation guide covers the steps in full.
Running and finishing the bead
Kneepads and a good gun matter at floor level. Keep the nozzle cut to the joint width, push the bead into the gap rather than laying it on top, and keep a steady speed so it does not thin out halfway along a wall.
Tool to a slight concave profile that sheds water, and do not leave a ledge on the floor tile where dirt and mop water collect. At internal and external corners, finish each face cleanly before moving on. Remove masking straight after tooling.
Colour is a conversation to have before you start. Matching the grout usually looks tidiest. On busy patterns, match the floor tile rather than the wall.
Handover and curing
Tell the customer, in writing if you can, when the floor can be mopped and cleaned with chemicals again, using the data sheet's cure times rather than a guess. In a commercial washroom or kitchen, agree this with the site contact before you start, so cleaners are not sent in an hour after you leave.
Take photos of each wall and corner when you finish. They help with any later question and make good portfolio photos for future claims.
Writing the claim
You have 800 characters, so keep it practical. Say you have counted the metres, that you will cut out the old sealant rather than going over it, what colour you suggest and how long the floor needs to stay dry. For washrooms, mention that you can work around opening hours; our commercial washroom resealing post has more.
Browse sealant jobs by area, from London to Birmingham and Manchester, and claim the ones that suit you. Joining is free during the current promotion, with no card needed, and up to 3 applicators can claim each job.
Got a sealant job?
Post it once, compare up to 3 applicators
Describe the job, add photos and your postcode district. It is free, and your contact details stay hidden until you choose.
Mastic or sealant applicator?
Find sealant work near you
Browse jobs free, then subscribe to respond: free during our current promotion, no card needed.